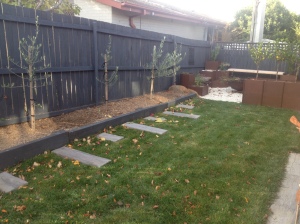
In moving to our beautiful, little home, we went from having a large backyard, with TWO dedicated veggie patches, composting corner, lawn, flower beds and paved entertaining area, to an outdoor space of less than a quarter of that. In order to get extra out of our gardens, we had to think critically. Most of the plants in our garden do double-duty. The screening trees along our property line are olive trees (fingers crossed one day they produce enough olives for us to do something fun with). We considered planting stone-fruittrees, however thanks to a humongous neighbourhood tree, afternoon sun is not an issue, and I didn’t like the bareness that would be our view in winter. Also, olive trees are perfectly suited to our Canberra clay soil, so much so, that some folk consider them a weed. The mod-pots in our ‘chill out zone’ provide fragrant herbs. The backdrop to our bocce court is an espaliered valencia orange tree which loves it’s hot brick wall. And an assortment of pots containing limes, a chinotto, blueberry plants, etc., fill in the rest of our plantings.
But all this wasn’t enough for us. We’d gone from having about 9 square metres of veggie patch to basically a few pots. As well, I was starting to be quietly surprised by how much waste we produced. We’re not fans of throwing out leftovers, but even so, just the scraps from food prep was imense. And there’s only 2 of us!
We’ve converted our front garden into a veggie plot. (I have grand plans for gradually morphing it into an Australian version of a classic english cottage garden. I can be very superficial and wonder why can’t a veggie plot look beautiful while being useful?). Over time, the patch will be hemmed in by lavender and lemongrass, with a side border of rosemary. I’d love to plant out a few natives too; I’m thinking fingerlimes (which I hear should do ok in Canberra – has anyone else tried them?) and pepper-berries flanking the front door.
This is all well and good, but doesn’t solve our waste dilema. In all seriousness, I assume that food waste breaks down at the tip, just as it does in our garden, however wouldn’t it be nice to cut out the middle-man and improve our soil too?
I’d heard about these “worm tube” things on the wonderful Pinterest (what did I do before pinterest??) and thought I’d give them a go. Worm-tubes are like a mini compost heap. Definitely for people living small-scale.
So here’s how I did it.
Step 1: Get your gear.
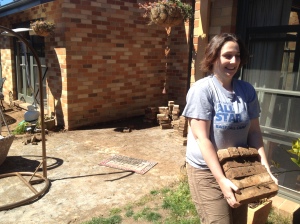
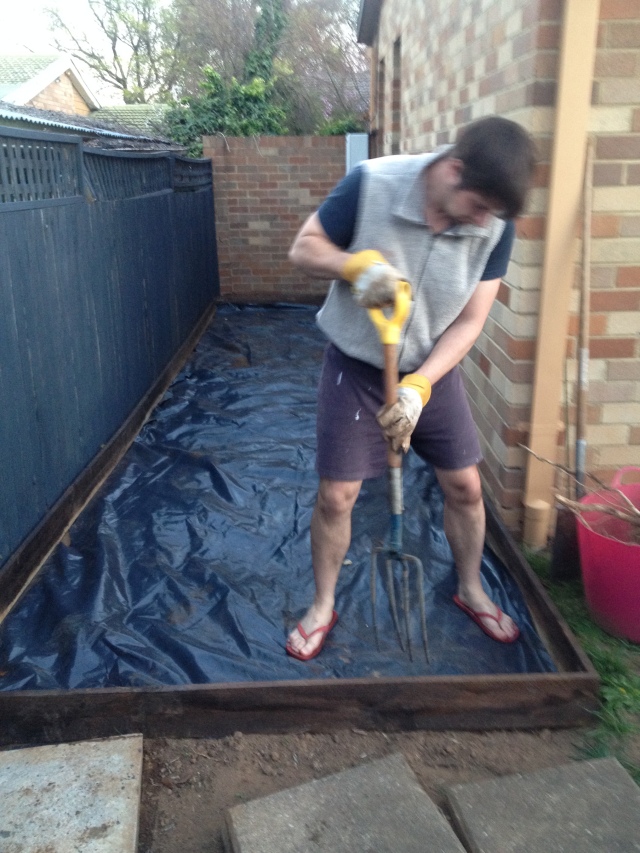
To my surprise, we already had a saw (I was about to head to my bro-laws place to borrow his, but woop woop, we have handy manly stuff, like drills and saws). I bought a piece of PVC plumbing pipe and 2 caps. The pipe is about 20cm in diameter. As mentioned previosly, I can be a little impatient, so instead of waiting for my very manly, capable, strong husband to come home, I decided to saw the pipe in half by myself while bub slept in the car next to me. I felt so productive to have bought PVC AND saw it in half in one afternoon – small victories.

Step 1: stuff n tools
Turns out I’m not as strong as a 6ft lumberjack. After 20 minutes of sawing I’d gotten 3/4s through and figured snapping the pipe would do the trick. If you’re not as superficial as me, it would. The snapping was devastatingly jagged. I put on my big girl pants and overcame the aesthetics. After all, most of the pipe is going to be in the ground. Also, bub awoke and demanded to be carried to a more comfortable location. Operation Worm Tube delayed til nap time.

Two jagged halves
Step 2: Drillin n power tools n stuff

Step 2: holey moley
Our drill is a family heirloom, discovered by my grandfather, abandoned in a bag next to his car, and passed down to my dad and now to me. It’s one of those old-school ones that needs to be connected to the wall to work. For some reason the largest drill-bits don’t fit into the drill. Anywho, I installed the largest bit that would fit (size 7), and plugged the drill into the wall. Drilled a heap of holes and voila! worm tube done.
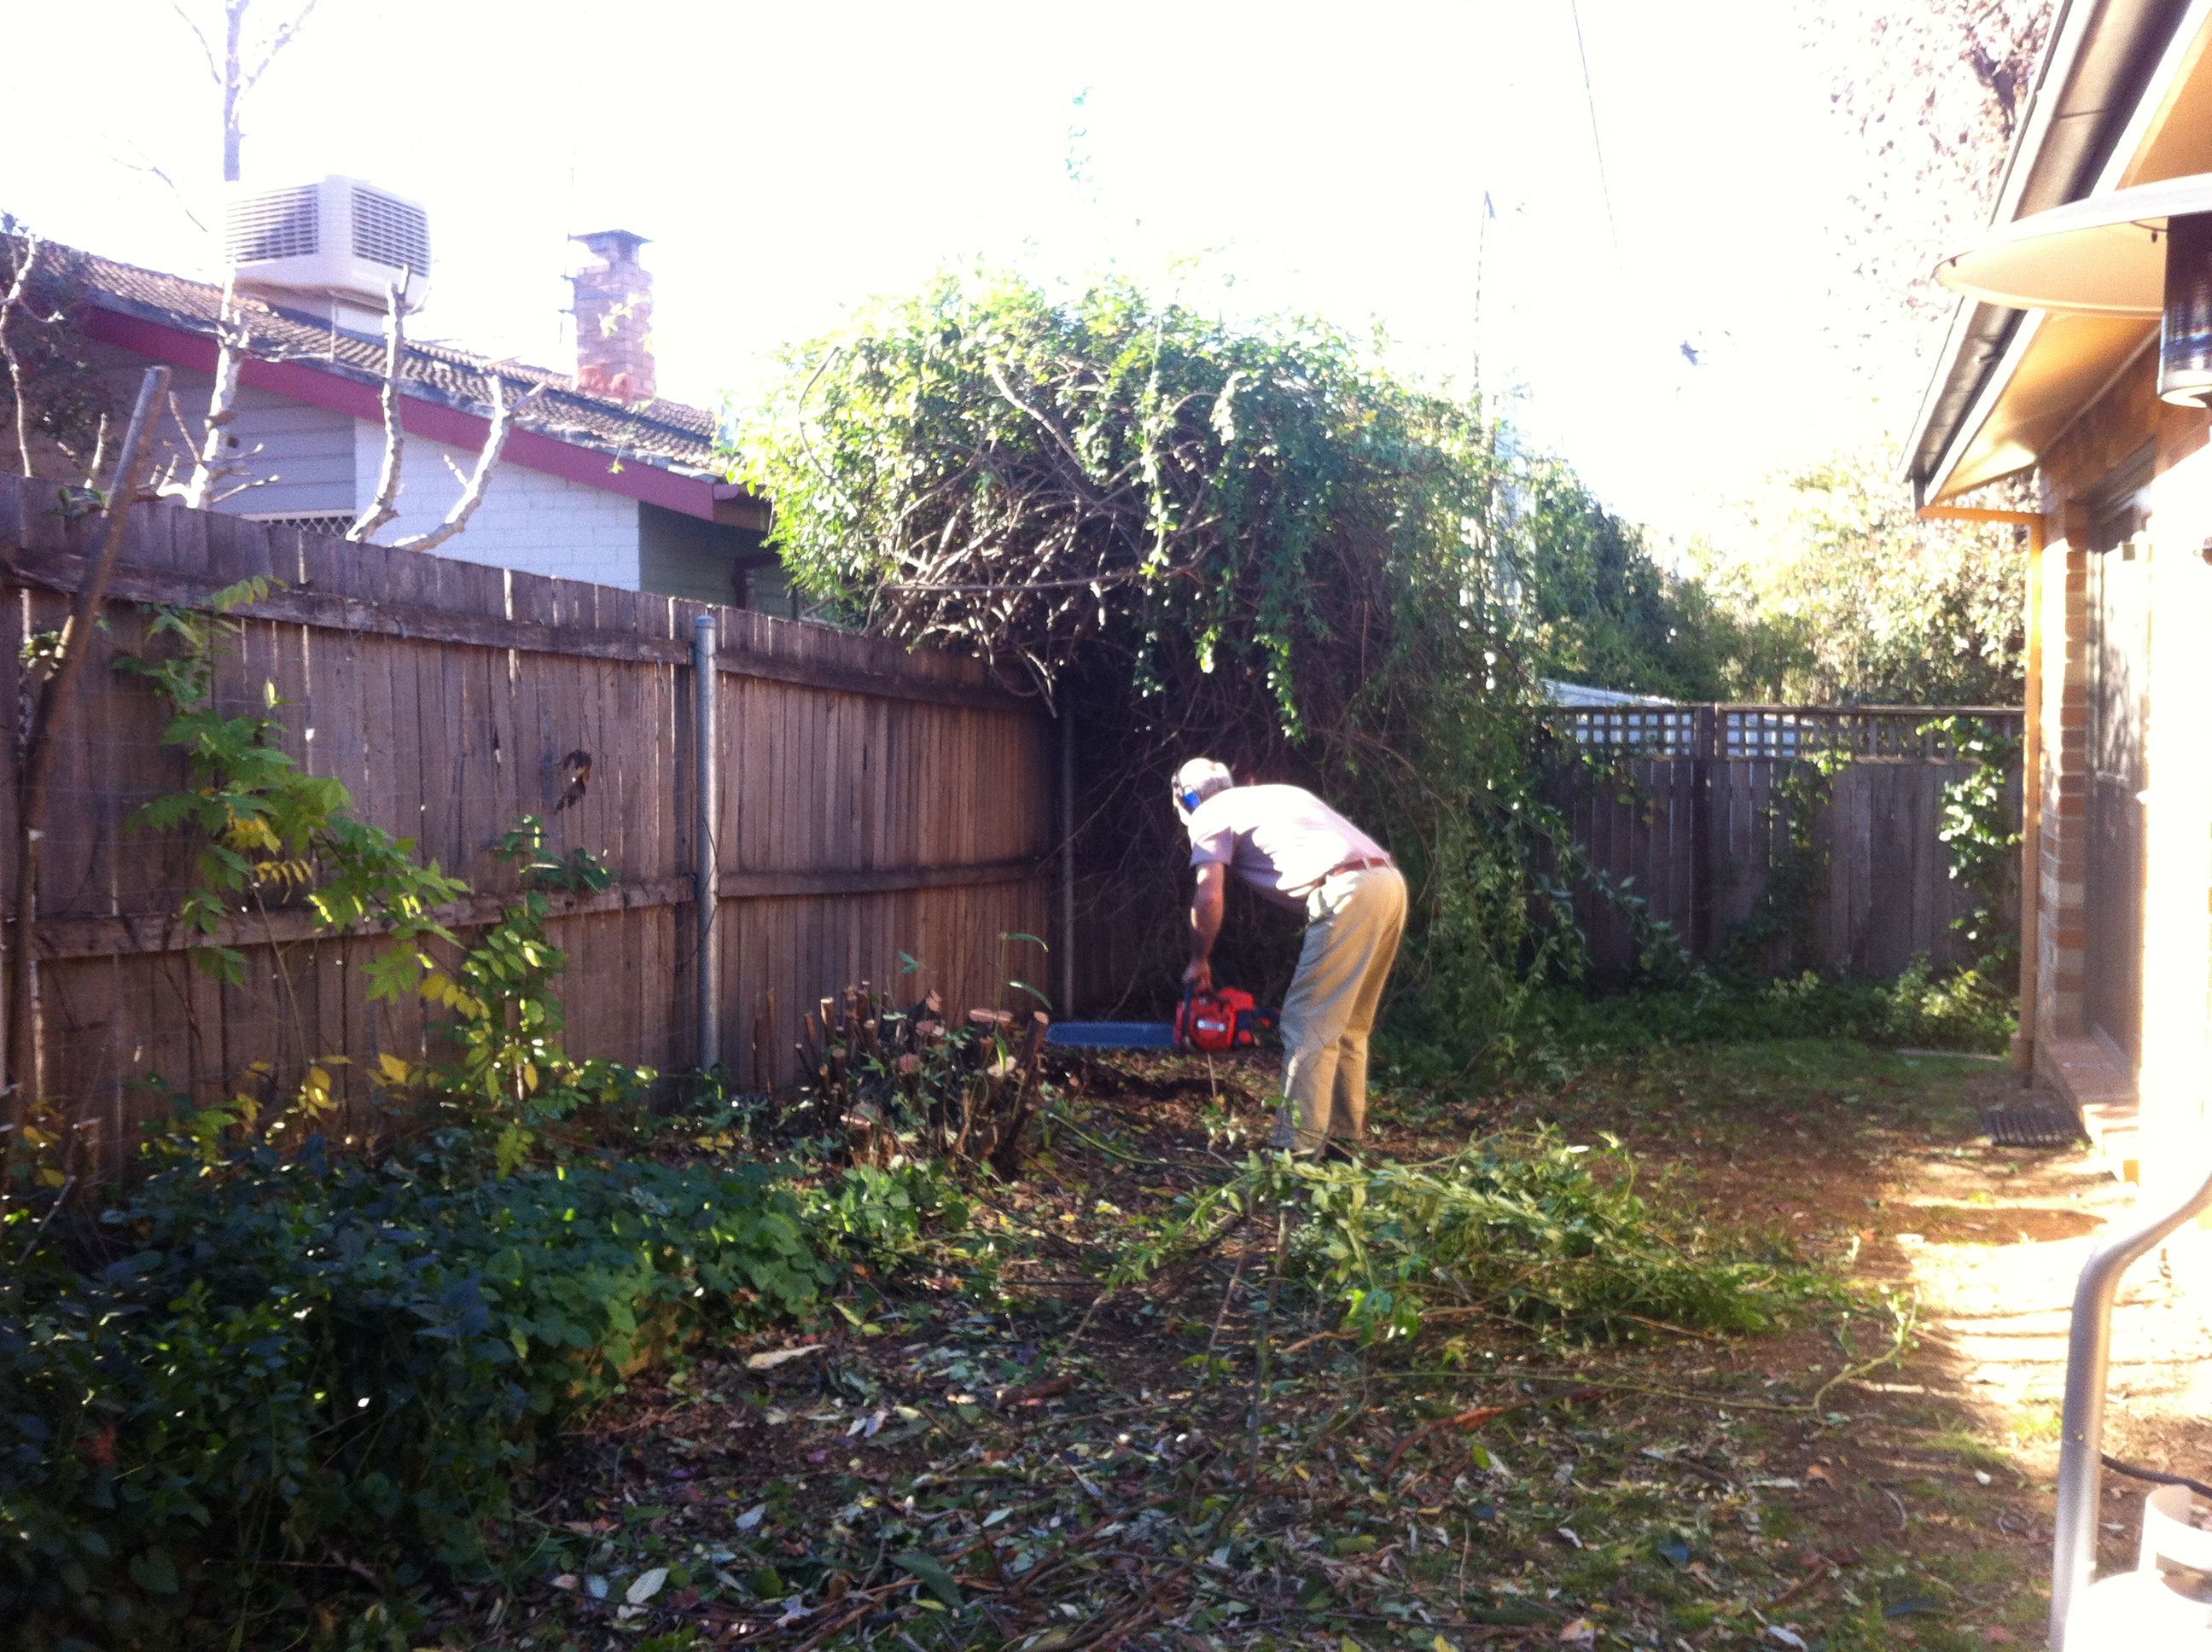
Step 3: Be Dale and dig a hole.
It’s really pretty simple. Buy pipe. Drill some holes. Dig a hole and bury the pipe in the ground. Then wait for the wormz to come. From here on, I save the kitchen scraps and stuff em in the tube and top it up with some rich soil.
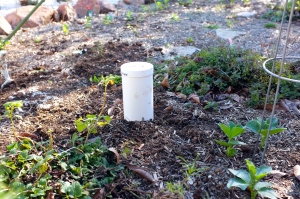
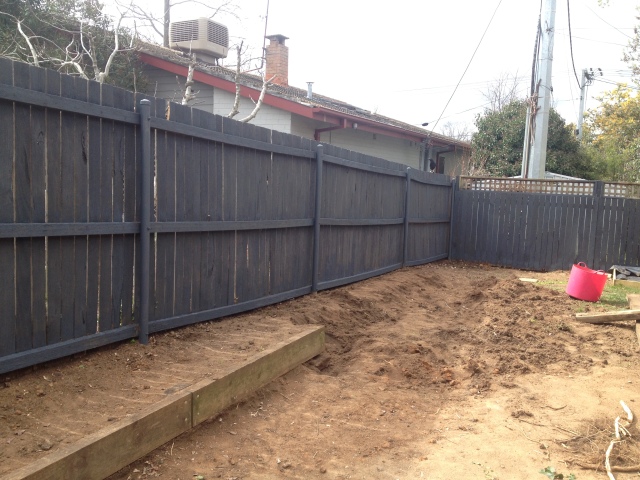
Step 3: Dig a hole and bury it
Lessons Learned
- Use a bigger pipe. I chose a relatively small pipe as to be inconspicuous in the garden. Only problem is it fills up very quickly. Even with two of them. I’m constantly having to dig holes in the garden. Good reason to get a dog? Next time I’ll use a bigger pipe and…
- Dig bigger holes. A fair portion of the tube is sticking above ground in the final picture. Now I dig deeper holes so that when I move the tube, all the scraps stay below the surface, away from rats and mice and other nasty scurrying nasties.
- Drill bigger holes. Once I figure out how to fit the big drill-bits into the drill I will make the holes bigger so that I can get nice fat worms into the tube. I’d also probably buy a few worms if I knew where to get them from.